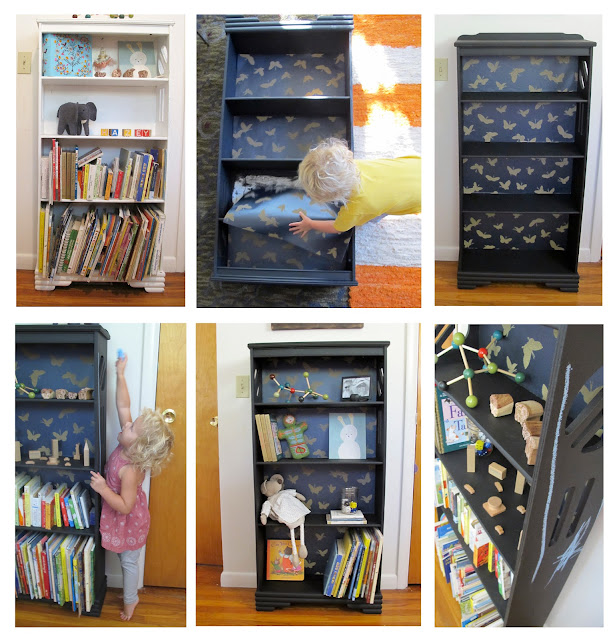
This was such a fun, cheap, easy way to make our space a little more fun. I visited a local wallpaper shop, where they sell left over rolls of wallpaper for $5!! So, needless to say, my mind has been reeling with possibility. I finally decided on adding the wallpaper the back of a hand-me-down bookshelf. The process was simple, once I had the wallpaper that I wanted;
1. I choose a matching paint color (we went with black chalkboard- something a little funner to keep the 2 year old busy)
2. I painted the shelf- we did about 2.5 coats (I used a mini-roller for a smoother finish, spraypaint also does the trick -find spray-painting tips here.
3. I cut out wallpaper pieces (TRY TO BE VERY EXACT) -Using a measuring tape and a straight-edge for your cuts saves you lots of time and mess.
4. Then once the paint is fully dry, I applyed a layer of glue to the back of the shelves, then press your wallpaper to the glue as carefully as you can. (Use wallpaper glue from home depot) It is helpful to have a wet rag to clean any excess glue.
5. Then lay books on top of the wallpaper for a few hours so that it drys without too many bubbles.
-and voila, you have a new bookshelf! It's amazing how such a small piece of furniture can make a space feel nice and new! It brings a smile to my face every time I come into Hazel's room.


very cute! I'm convinced every kid loves chalkboard paint. even kids in their 40's.
ReplyDelete